
Headlight Restoration in Mauldin SC: DIY or Hire a Pro?
Headlight Restoration in Mauldin SC: DIY or Hire a Pro?
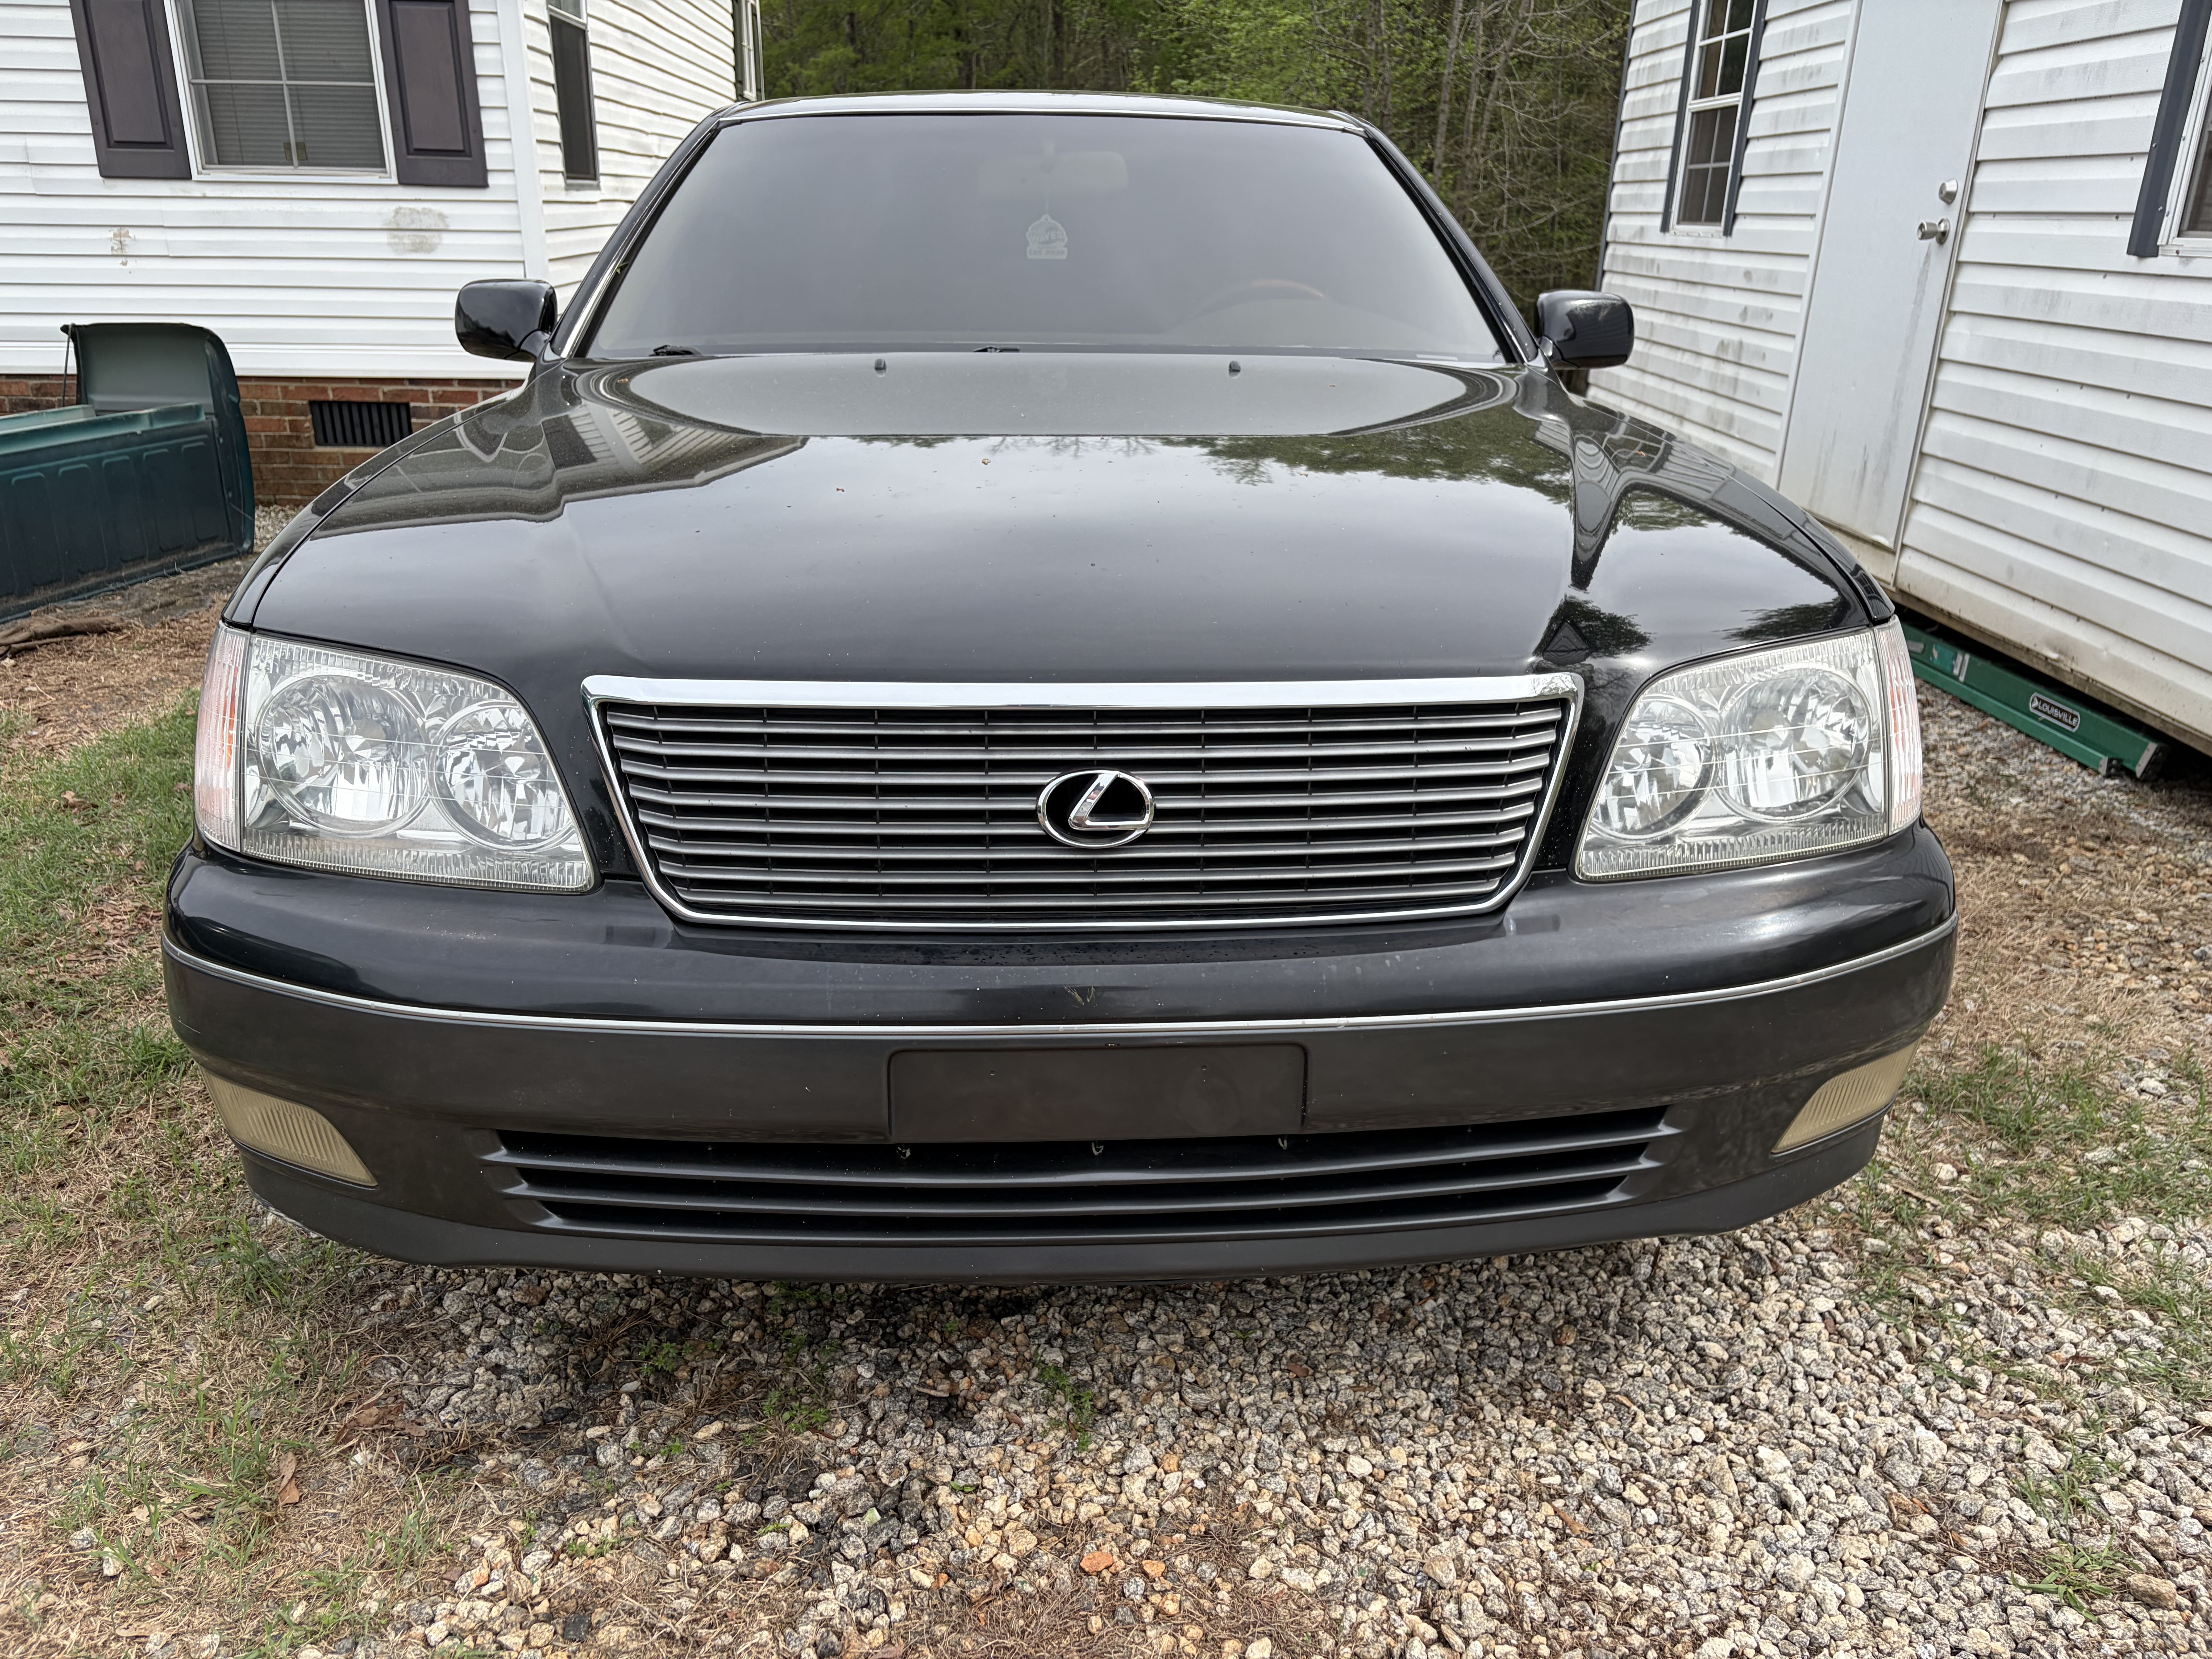
Your headlights looked clear when you bought your car. Now, after a few years of driving in Mauldin, they’ve turned cloudy and yellow, making nighttime driving harder and your vehicle look older than it is. If this sounds familiar, you are not alone. Oxidation and UV damage affect headlights on virtually every vehicle in the Greenville County area, especially in places like Mauldin where sun exposure and road conditions accelerate the breakdown of polycarbonate lens coatings.
The good news? Headlight restoration is one of the most straightforward detailing projects you can tackle, whether you choose to do it yourself or hire a professional. This guide walks you through both paths so you can decide what makes sense for your situation and your vehicle.
What Does Not Work (And Why Your Previous Attempts Failed)
You may have already tried fixing your headlights with methods you found online or at the auto parts store. Many of these approaches fail because they address only the surface symptom, not the root cause.
Toothpaste and baking soda sound appealing because they are cheap and already in your bathroom. They contain mild abrasives that can remove very light haziness from the lens surface. However, they cannot penetrate the deeper oxidation layers that form inside the polycarbonate material. After a week or two of sun exposure, the hazing returns because you never sealed the lens with UV protection.
Budget restoration kits from discount retailers often lack the proper abrasive grits needed for effective material removal. These kits typically jump straight from a rough grit to a fine polish, skipping the intermediate steps that actually prepare the surface for sealant. The result is a temporarily clearer lens that clouds up again within weeks because the UV sealant either was too thin or did not bond properly to the prepared surface.
Spray on lens protectors and wax based products seem convenient, but they sit on top of the existing oxidation rather than removing it. You are essentially coating a problem instead of solving it. The cloud returns faster this time because now you have multiple layers working against clarity.
The Full DIY Method for Headlight Restoration
If you decide to restore your headlights yourself, the process is straightforward when you follow the steps in order and use the right products. Plan to spend one to two hours per car and budget twenty to sixty dollars in supplies.
What You Will Need:
Start with a quality headlight restoration kit. The CERAKOTE Ceramic Headlight Restoration Kit is the top choice in 2026 due to its ceramic UV coating that lasts as long as you own the vehicle. It costs around thirty five dollars and includes all the abrasive pads, polish, and sealant you need. The SYLVANIA Headlight Restoration Kit runs twenty to twenty five dollars and includes hand sanding pads with an exclusive UV clear coat, making it ideal if you do not have a drill. For severe oxidation cases, the 3M Ultra Kit at thirty dollars offers heavy duty abrasive technology and works best with a cordless drill.
You will also want masking tape to protect the surrounding paint and trim, a bucket of water, and microfiber cloths.
Step by Step Process:
Begin by taping off the area around each headlight with masking tape. This prevents accidental damage to your vehicle’s paint and trim during sanding.
Wet sand the lens with the coarser grit pad included in your kit, usually 500 to 1000 grit. Work in small circular motions and keep the surface wet throughout. This step removes the oxidized outer layer of the polycarbonate material. You will notice the lens becomes increasingly cloudy during this phase, which is normal. This cloudiness means you are actually removing the damaged material.
Progress to the medium grit pad, typically 2000 grit, applying the same wet sanding technique. This step refines the surface and begins the transition toward clarity.
Move to the fine grit pad, usually 3000 grit. This is where the haze begins clearing noticeably. Continue wet sanding until the surface feels uniform and the major cloudiness lifts.
Apply the polishing compound from your kit using a soft applicator pad. Work it across the lens in overlapping motions until you achieve a clear, glossy appearance. This usually takes five to ten minutes per headlight.
The critical final step is applying the UV sealant. This is what sets professional results apart from temporary fixes. The sealant creates a protective barrier that prevents UV rays from immediately re oxidizing the polycarbonate material underneath. Apply the sealant according to the kit instructions, usually requiring two coats with drying time between applications. Do not rush this step. Properly applied UV sealant extends your restoration results from months to years.
Allow the sealant to cure for twenty four hours before washing your vehicle or driving in rain. This gives the protective coating time to harden fully.
Common Mistakes That Ruin Results:
Skipping the wet sanding step and jumping straight to polishing leaves oxidation in the pores and under the surface. The result looks temporarily better but fails quickly.
Using a drill with a buffing pad on the coarser grits can generate excessive heat, which warps the polycarbonate lens or burns through the material. Keep everything wet and work by hand with the coarser grits.
Applying UV sealant over dirty or improperly dried surfaces prevents proper adhesion. Make sure the lens is completely dry and free of dust before sealing.
Ignoring UV sealant altogether and assuming the polish is enough guarantees the cloudiness returns within weeks. The sealant is not optional.

When to Hire a Professional
For many drivers in Mauldin, Simpsonville, Five Forks, and throughout Greenville County, the DIY route makes complete sense financially and technically. The time investment is modest, the materials are inexpensive, and you maintain control over the process.
However, some situations call for professional expertise and equipment. Greenville Car Detailing brings professional grade equipment and proven technique to every restoration job.
Severe oxidation that has progressed beyond the initial clouding stage sometimes requires more aggressive abrasive techniques than consumer kits support. If your headlights are deeply yellowed, heavily pitted, or the lens surface feels rough to the touch, professional restoration may achieve better clarity than DIY methods.
Professional detailers use commercial grade wet sanding systems and polishing equipment that works faster and more consistently than hand sanding. The restoration process at Greenville Car Detailing includes wet sanding and polishing of both headlights, complete oxidation and haze removal, and UV sealant application. The service runs forty five to sixty minutes at your location and maintains typical professional results for one to three years depending on sun exposure and parking conditions.
Cost comparison: A DIY restoration runs twenty to sixty dollars in supplies plus two hours of your time. Professional headlight restoration in Mauldin costs two hundred dollars for both headlights, or just seventy five dollars when added to another detail service. If your time is valuable and you prefer a warranty backed professional result, the professional route makes financial sense. Plus, Greenville Car Detailing comes to you anywhere in Greenville County, including Mauldin, Simpsonville, and Five Forks. No need to drive anywhere or find a shop. You can book a same day appointment for headlight restoration here.
For cases where the lens is deeply cracked or internally fogged, neither DIY nor standard professional restoration can fully repair the damage. The technician will assess your specific situation and let you know whether restoration is viable or if lens replacement is more practical.
Frequently Asked Questions
How much does headlight restoration cost in Mauldin SC?
Professional headlight restoration through Greenville Car Detailing costs two hundred dollars as a standalone service. You can add it to an interior, exterior, or full detail service for just seventy five dollars. The DIY approach costs twenty to sixty dollars in products that you purchase at auto parts retailers. Most people in Mauldin who do it themselves complete the work in one to two hours.
How long does headlight restoration last?
Professional restoration typically lasts one to three years depending on how much sun your vehicle gets and where you park. Vehicles garaged most of the time or parked in shaded spots often keep clarity for closer to three years. Daily drivers parked in open sun may see the hazing return sooner. The CERAKOTE ceramic coating in premium DIY kits can last longer, sometimes matching professional durability when applied correctly.
Can I restore headlights myself?
Yes, absolutely. Modern headlight restoration kits are designed for DIY use and include everything you need. The SYLVANIA, CERAKOTE, and 3M kits all work well for DIY restoration. Plan on one to two hours and expect good results if you follow all the steps, especially the UV sealant application. This is one of the few detailing tasks that do not require specialized equipment or training.
Does car detailing include headlights in Greenville SC?
Not always. Some detailing packages focus on the vehicle exterior and interior but leave headlights as an add on. At Greenville Car Detailing, headlight restoration is offered as a standalone service or as an add on to any detail package. This gives you flexibility depending on what your vehicle actually needs.
Get Professional Headlight Restoration Today
Whether you choose to restore your headlights yourself or hire a professional, the important thing is addressing the problem before oxidation gets worse. Clear headlights improve your safety at night and restore your vehicle’s appearance.
If you want to skip the DIY project and get professional results in forty five minutes, book your headlight restoration appointment with Greenville Car Detailing. Same day availability is usually available for customers in Mauldin and throughout Greenville County.
